1. Replace standard light switches with dimmer or smart switches
Turn off power at breaker, remove old switch, connect new switch wires to same terminals (line, load, ground), secure in box. Smart switches may require neutral wire connection.
2. Upgrade outlets to USB-enabled or GFCI versions
Turn off power, remove old outlet, connect new outlet following line/load markings carefully for GFCI. Test GFCI function with test and reset buttons before restoring power.
3. Install new light fixtures in existing ceiling boxes
Turn off power, remove old fixture, check that ceiling box can support new fixture weight, connect wires (black to black, white to white, green to ground), secure fixture to box.
4. Replace bathroom exhaust fan with newer, quieter model
Turn off power, disconnect old fan, remove from housing, install new fan in same housing, connect wires and ductwork. Choose fans rated for bathroom size (CFM rating).
5. Install motion sensor outdoor lights for security
Turn off power, remove old fixture, install motion sensor light following wiring diagram, adjust sensitivity and timer settings. Position to avoid false triggers from traffic or pets.
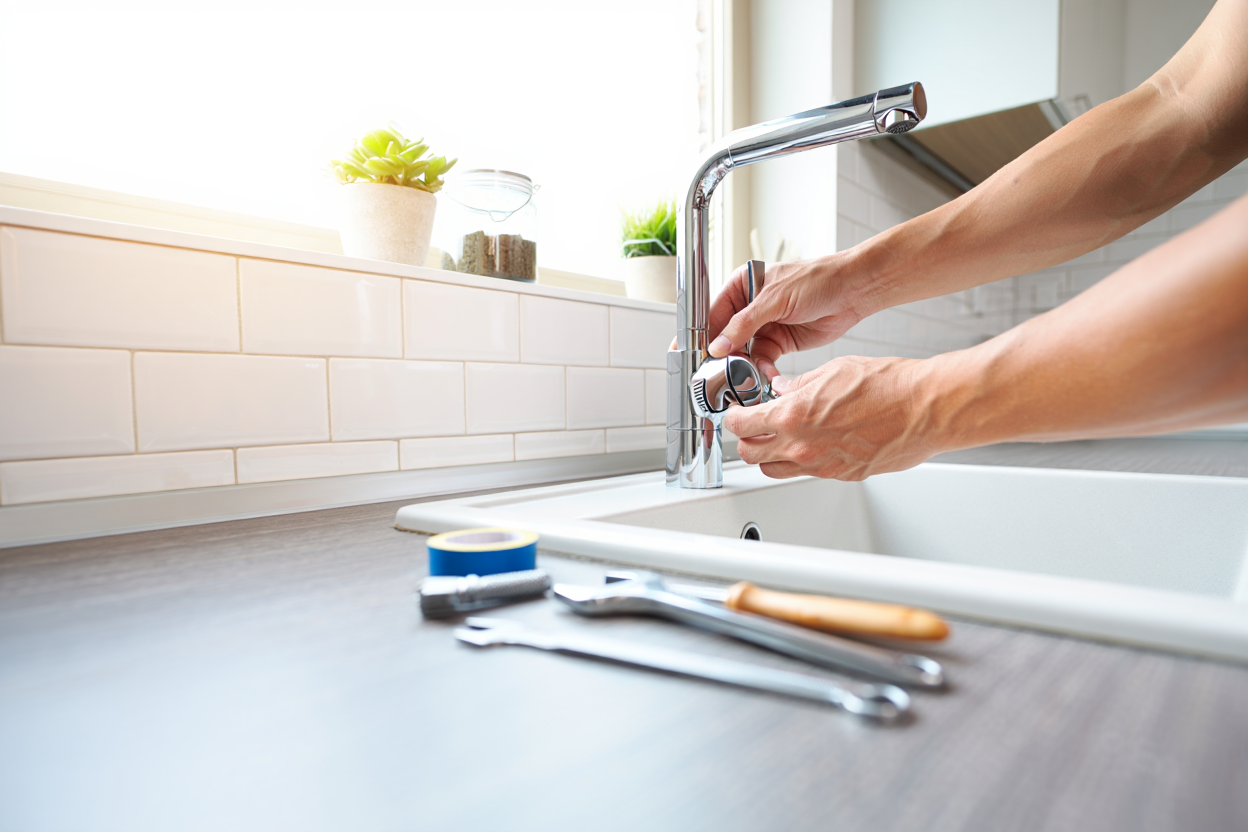
6. Replace kitchen or bathroom faucets with modern efficient models
Turn off water supply, disconnect old faucet supply lines and mounting nuts, remove old faucet, install new faucet with provided gaskets and hardware, reconnect water supply.
7. Install new showerheads for better water pressure and efficiency
Remove old showerhead with adjustable wrench (protect finish with tape), clean threads, wrap with plumber's tape, install new showerhead hand-tight plus quarter turn with wrench.
8. Replace toilet seats with slow-close or comfort height versions
Remove old seat by unscrewing plastic bolts from underneath toilet bowl, clean mounting area, install new seat according to manufacturer instructions. Consider antimicrobial or easy-clean coatings.
9. Upgrade to low-flow toilets for water conservation
Turn off water, disconnect supply line, remove old toilet completely, install new wax ring, position new toilet carefully, bolt down evenly, reconnect water supply and test for leaks.
10. Install new garbage disposal in existing sink setup
Turn off power and water, disconnect old disposal or strainer, install new mounting assembly, connect disposal unit, wire electrical connection, connect drain plumbing, test operation.
11. Install ceiling fans for improved air circulation and energy efficiency
Turn off power, ensure ceiling box is fan-rated for weight and movement, install fan mounting bracket, connect wires according to fan instructions, balance blades after installation.
12. Replace water heater elements or thermostats for better efficiency
Turn off power and water, drain tank partially, remove access panels, disconnect wires from old element, unscrew element, install new element with gasket, reconnect wires, refill and test.
13. Install new range hood for better kitchen ventilation
Turn off power, remove old hood, install new mounting bracket, cut ductwork hole if needed, connect electrical wires, install ductwork, mount hood, connect to ductwork, test operation.
14. Upgrade to smart thermostats for energy savings
Turn off power, remove old thermostat, label wires carefully, install new smart thermostat base, connect wires according to color codes, attach thermostat, configure via smartphone app.
15. Install whole-house surge protectors at main electrical panel
Turn off main breaker, install surge protector according to manufacturer instructions, connect to appropriate breakers, test operation. This project may require electrical permit in some areas.
Bonus Tip
Take photos of wire connections before disconnecting anything, especially for complex fixtures with multiple wires. Label wires with masking tape if needed. Keep instruction manuals and warranty information in a home maintenance folder for future reference and potential warranty claims.
What to Avoid
- Never work on electrical fixtures without turning off power at the breaker and testing with a voltage tester - wall switches can fail
- Don't install heavy fixtures like ceiling fans without ensuring the electrical box is rated for the weight and movement
- Avoid over-tightening plumbing connections - hand tight plus quarter turn prevents cracked fittings
- Never skip the wax ring when installing toilets - it's the only thing preventing sewer gas and water leaks
- Don't assume wire colors are standard in older homes - always test connections and follow manufacturer instructions carefully