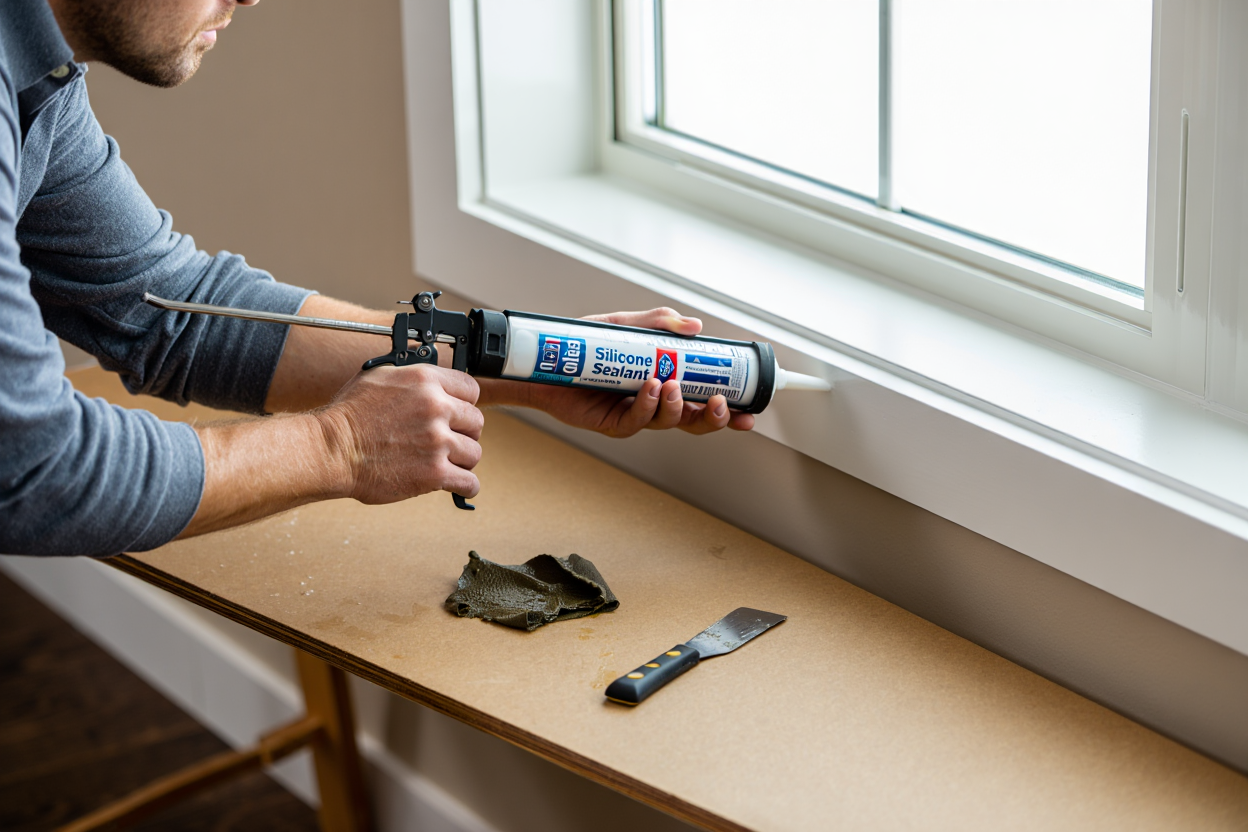
1. Use silicone caulk for bathroom and kitchen wet areas
100% silicone caulk resists mold and moisture better than any other type. Apply around bathtubs, showers, and sinks where water exposure is constant. It's paintable versions available but cost more.
2. Choose paintable acrylic caulk for interior trim and gaps
Acrylic caulk shrinks slightly as it cures but takes paint well and cleans up with water. Perfect for baseboards, crown molding, and interior cracks that need painting over.
3. Apply polyurethane caulk for exterior concrete and masonry
Polyurethane caulk handles movement and weather extremes better than other types. Use for driveways, sidewalk expansion joints, and exterior foundation cracks. More expensive but lasts longest.
4. Use specialized rope caulk for temporary winter sealing
Rope caulk removes cleanly in spring and provides excellent temporary sealing around windows and doors. Apply by pressing into gaps with fingers - no tools needed.
5. Select clear caulk when you want invisible repairs
Clear silicone or acrylic caulk works well where colored caulk would be visible. Takes longer to cure than white caulk but creates nearly invisible seals on glass and clear materials.
6. Remove all old caulk completely before applying new caulk
Use a caulk removal tool or utility knife to scrape out every bit of old caulk. Clean with denatured alcohol to remove residue. New caulk won't adhere properly over old caulk.
7. Cut caulk tube tip at 45-degree angle for smooth application
Start with small opening and enlarge if needed. A 45-degree cut creates the right bead size for most applications. Clean cut prevents ragged caulk lines.
8. Apply consistent pressure and maintain steady speed
Move caulk gun at consistent 2-3 inch per second speed while maintaining steady trigger pressure. Practice on cardboard before starting actual work to get the feel.
9. Smooth caulk bead immediately with wet finger or tool
Work in 3-4 foot sections, smoothing each before moving on. Wet finger works best for most caulks. Specialized smoothing tools create more consistent results for large jobs.
10. Mask adjacent surfaces for perfectly straight caulk lines
Apply painter's tape on both sides of caulk joint, apply caulk, smooth quickly, then remove tape while caulk is still wet. Creates professional-looking straight lines.
11. Seal windows and doors with compression weatherstripping
Replace worn weatherstripping around doors and windows annually. Compression strips work best for most applications. Measure carefully and buy quality products for best results.
12. Use backer rod for deep gaps before caulking
Insert foam backer rod into gaps deeper than 1/4 inch before caulking. This prevents caulk from sagging into deep gaps and creates better adhesion on both sides.
13. Apply caulk in temperatures between 40-80°F for best results
Extreme temperatures affect caulk flow and curing. Cold caulk is thick and hard to apply smoothly. Hot weather causes caulk to flow too quickly and cure before smoothing.
14. Remove failed caulk and start over rather than caulking over it
Caulking over failed caulk never works long-term. Spend time removing old caulk completely and starting fresh. This prevents recurring failures and creates lasting repairs.
15. Maintain caulk annually by inspecting and touching up small gaps
Walk around your home twice yearly checking all caulked areas. Small touch-ups prevent major failures. Spring and fall maintenance schedules work best for most climates.
Bonus Tip
Keep a caulking maintenance kit with different caulk types, removal tools, and smoothing implements. Store caulk tubes tip-down in a cool, dry place. Partially used tubes can be sealed with a nail in the tip and stored for months for future touch-ups.
What to Avoid
- Never apply new caulk over old caulk without complete removal - it will fail quickly and waste time and materials
- Don't use kitchen and bath caulk outdoors - it's not designed for weather extremes and UV exposure
- Avoid caulking in direct sunlight or extreme temperatures - it affects application and curing quality
- Never ignore manufacturer's curing time recommendations - disturbing uncured caulk causes adhesion failures
- Don't use your finger to smooth caulk without wetting it first - dry fingers drag and create uneven surfaces