Cost Breakdown
| Item | Low | Average | High |
|---|---|---|---|
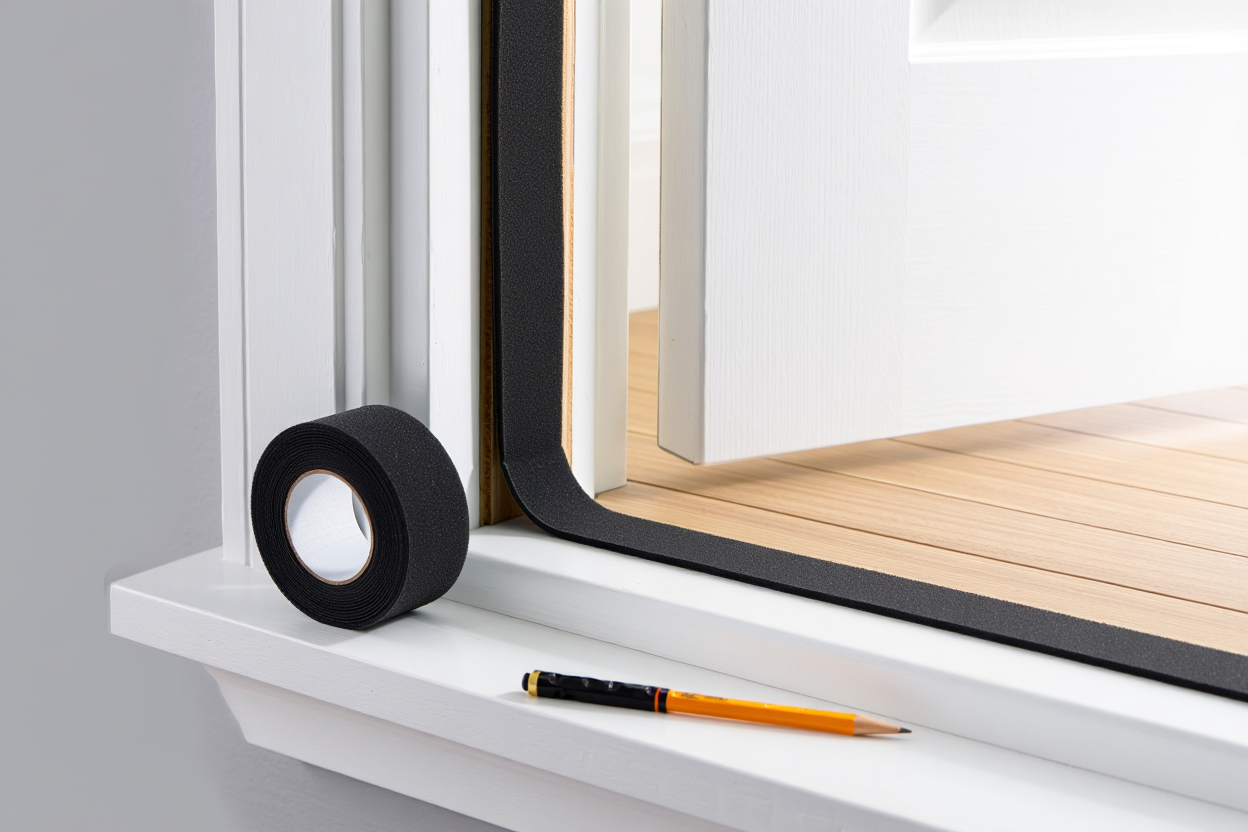
| Foam tape weatherstripping Per 17-foot roll. Easy install, 2-3 year life | $3 | $8 | $15 |
| V-strip weatherstripping Per 17-foot roll. Metal or plastic, 5-7 year life | $5 | $12 | $25 |
| Door sweep (bottom seal) Per door. Rubber or brush style | $8 | $20 | $40 |
| Threshold weatherstripping Per door. Adjustable height, long-lasting | $15 | $35 | $70 |
| Window film kit Per window. Temporary but effective | $3 | $8 | $15 |
| Caulk (tube) Silicone or acrylic. One tube covers 20-30 feet | $2 | $5 | $10 |
| Backer rod Per 100 feet. Foam rod for large gaps before caulking | $5 | $12 | $20 |
| Rope caulk Temporary putty-like seal. Removable | $4 | $8 | $15 |
| Magnetic weatherstripping Per door. Metal doors only, very effective | $10 | $25 | $50 |
| Gasket weatherstripping Per door. Bulb or tubular gasket | $15 | $30 | $60 |
| Attic hatch weatherstripping kit Complete kit with insulation and sealing | $20 | $40 | $80 |
| Chimney damper Stops air loss through fireplace | $50 | $150 | $300 |
| Outlet gaskets 20-pack. Behind outlet covers on exterior walls | $3 | $8 | $15 |
| Basement rim joist sealing Materials for DIY. Major air leak source | $50 | $150 | $300 |
| Professional air sealing Whole house. Includes blower door testing | $300 | $600 | $1,200 |
| Duct sealing (professional) Seal air leaks in ductwork | $300 | $600 | $1,200 |
| Window glazing compound Per tube. Seal old window glazing | $8 | $15 | $25 |
Average Total Cost: $50-200 for DIY basic sealing, $500-1,000 for professional comprehensive approach
Factors That Impact Cost
Home age
Older homes typically have more air leaks and deteriorated seals
Construction type
Wood frame homes easier to seal than masonry. Mobile homes need extensive sealing
Climate severity
Extreme climates see higher dollar savings from air sealing
Existing weatherproofing
Homes with no existing sealing see dramatic improvements
DIY skill level
Most weatherstripping is DIY-friendly with basic tools
Budget constraints
Even minimal spending on basic materials provides significant benefits
Money-Saving Tips
- Do a simple air leak test on windy days - hold incense or tissue near suspected leaks to find drafts
- Start with the biggest leaks first - doors and windows typically waste more energy than small cracks
- Buy weatherstripping materials in bulk if doing whole house - significant per-foot savings
- Replace weatherstripping every 3-5 years as part of regular maintenance
- Combine with other projects - seal air leaks when painting or doing other repairs
- Use temporary solutions first (rope caulk, foam tape) to test effectiveness before permanent sealing
- Time projects for moderate weather when you can keep windows/doors open while working
- Take advantage of utility rebates for professional air sealing - many offer $200-500 credits
When to Splurge
- Professional blower door test and sealing if energy bills are very high despite basic improvements
- High-quality door weatherstripping for frequently used entrances that see heavy wear
- Permanent solutions (magnetic strips, adjustable thresholds) for areas that get seasonal temperature extremes
- Attic air sealing when doing insulation upgrade - access costs are shared between projects
- Duct sealing if you have forced-air heating/cooling and ducts run through unconditioned spaces